The First Step to a Home-Grown Candy Factory
It’s hard to keep chocolate off your mind when Easter is just around the corner. As one of the top candy-selling holidays of the year, there are plenty of options when it comes to satisfying your sweet tooth. But if you’re looking for a custom design, or just a more personal touch, you can create your own candied concoctions right in your kitchen.
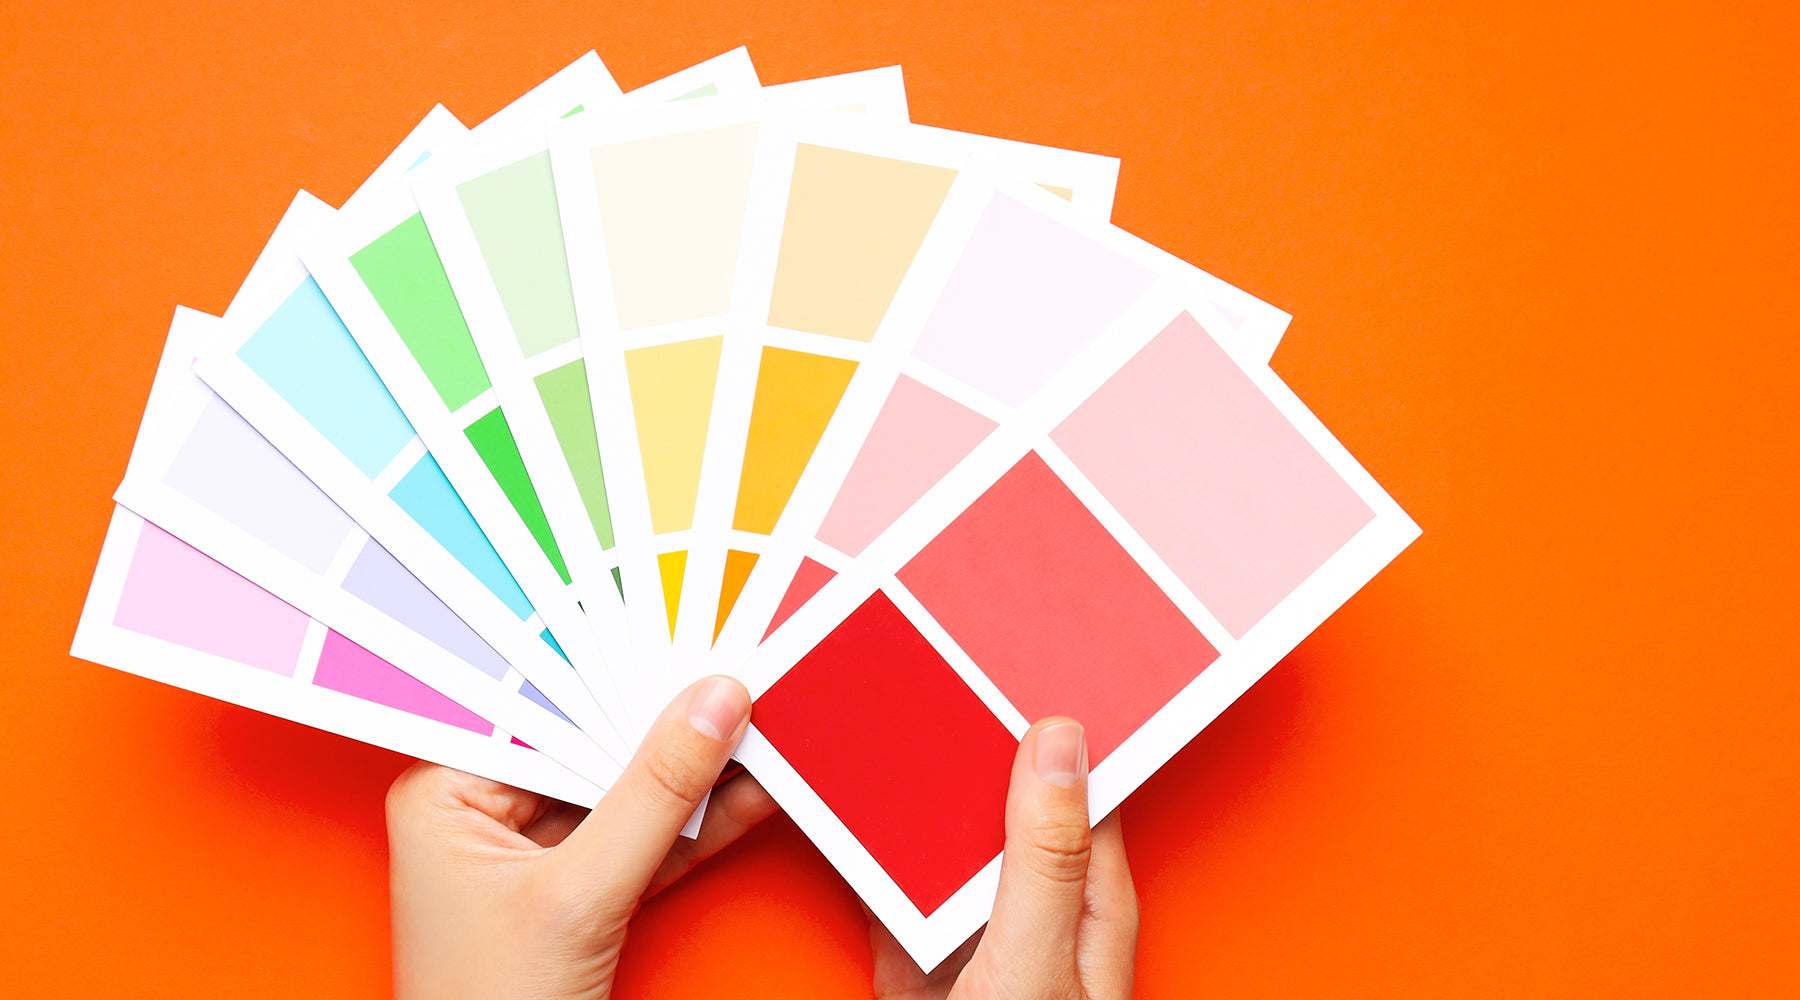
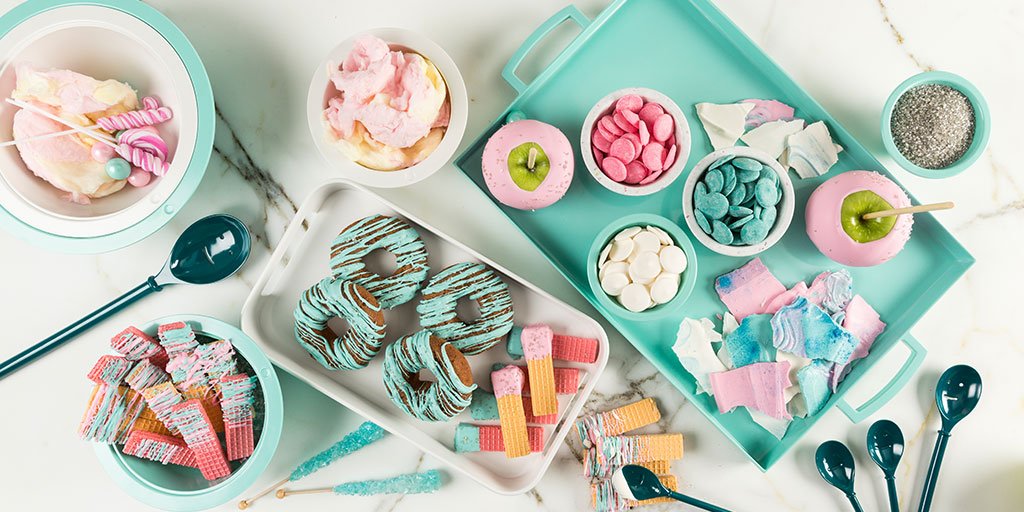
If you’re new to making candy, a good way to start is by decorating with candy melts. They have a chocolate-like consistency and come in a variety of colors, perfect for building a palette of spring pastels. As the name suggests, candy melts are meant to be melted; just microwave your candy pieces at 50% power for 30-second intervals, stirring in between, until they become smooth and silky. Then, you can use them to fill molds, pipe decorations, or dip desserts to create a candy shell. They’re a very forgiving medium, especially compared to other types of candy. But here are a few tips to make working with candy melts a little bit easier:
- If your melted candy is too thick for piping, try stirring in a little vegetable shortening. If it’s too thin, let it sit to cool down a little.
- A thick, clumpy texture could mean your candy melts are overheated, and should be left alone to cool. It’s easier to melt larger batches than just a few pieces at a time.
- Don’t let any water get into your melted candy—it attracts the sugar particles and causes the entire batch to clump into a dull, grainy paste. If your candy melts have “seized,” you may not be able to save them, but you can try adding a little bit of shortening and stirring until it dissolves.
- You can add additional colors or flavors, as long as they aren’t water-based.
- After you’re done decorating, any leftover candy melts can be re-melted and reused on another project. Just let the candy harden, and store it somewhere cool and dry, in an airtight container
Although candy melts share a few similarities with chocolate, there are key differences. Chocolate is made from cocoa—even white chocolate contains cocoa butter—while candy melts are made of sugar and vegetable fats. Make sure not to mix the two, because the two different fats will not react well with each other. Candy melts are also specially formulated for ease of use, while chocolate requires a little extra work to get the best results. If you just melt, dip, and cool your chocolate the way you would candy melts, your results will be edible, but they will also be soft at room temperature and appear slightly dull.
Tempering chocolate aligns all of its fatty acid crystals into a stable structure, allowing it to harden with a shine and break with a snap. It also melts at a higher temperature, and resists “blooming”—when the cocoa fat separates from stored chocolate and forms a white film on the surface of the chocolate. The easiest method is to “seed” your melted chocolate with already-tempered chocolate, which will attract the loose crystals and get the process started. Set aside about a third of your overall chocolate for this. Once your larger batch of chocolate is melted, slowly stir in the seed chocolate, and allow it to cool to its ideal temperature (see below) before you start working with it. This does take a bit of practice, and there are a few things to keep in mind:
- Again, avoid getting any water into your melting chocolate, or it will seize. You can try fixing it by adding small amounts of fat, though it will no longer be suitable for dipping.
- Don’t burn your chocolate! Stop heating it with just a few chunks left, and just stir until they dissolve. White chocolate is especially susceptible to burning. Keep the temperature around 188°F for dark chocolate, 133°F for milk chocolate, and 110°F for white chocolate.
- Keep your tempered chocolate warm enough to work with. When your chocolate begins to cool, microwave for 10-15 seconds at half power. If you’re having trouble, a larger batch of chocolate will cool a little slower.
- Don’t overheat your chocolate once it’s tempered, or your crystalline structures will melt and you’ll have to start over. The ideal temperature ranges are 88-89°F for dark chocolate and 84-86°F for milk and white chocolate.
- With experience, you can even learn to temper chocolate without a thermometer!
- Of course, the seed method isn’t your only option. There’s a lot of contention over which is the best, but you can check out other methods of tempering chocolate from Serious Eats.
There’s a lot that goes into making candy, but this brief glimpse might be enough to get you started in time for Easter. Now you know how to decorate with pink candy, blue candy, or any other color to suit the season, as well as how to make chocolate covered pretzels and other treats with a tempered and professional look. And to help serve your homemade candy, our Confetti collection will be the perfect accent for spring.